I am just downloaded the V10 iso image and try install it.
Similar to 9.5 in the archive we can find two iso files – auto and noauto. The second one allows us to load additional kernel modules required to support hardware.
I will install G10 in my lab based on VMWare Workstation 11, that is why I will use the image auto.
Previous settings which I used to v9.5 in VMWare Workstation works: 4xvCPU, 24 GB RAM, 300 GB HDD, vm created for Other-Linux 2.6 – 64-bit
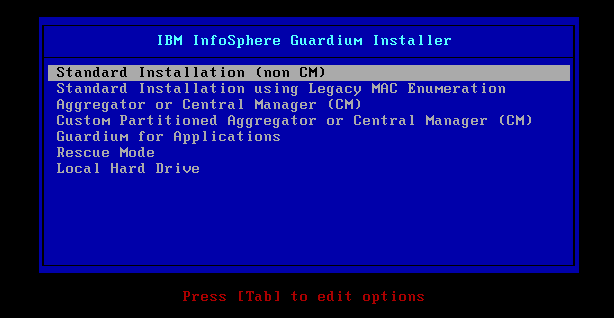
Boot menu
First significant difference – boot menu allows to select the type of installation:
– collector (Standard Installation)
– aggregator or cm
– appliance for Guardium for Applications (Dynamic Data Masking working on presentation layer)
We can notice also additional menu for custom partitioning for aggregator, rescue mode and local hard drive – I will investigate them later.
NEW: No longer installation assist required. Everything will be installed w/o additional decision process at the end of installation procedure (for example admin and accessmgr passwords, type of unit).
The automatic restart after reboot is switched off (this same behaviour we can notice starting from 9.5). It make sense for production but is not expected behaviour in the lab :).
Installation process finished in less that 10 minutes.
Initial (OTP) passwords for cli, admin and accessmgr is “guardium“.
Now I have started initial configuration from cli:
store network interface ip <ip_address>
store network interface mask <mask>
store network resolver 1 <dns_server>
store network route default <gateway>
restart network
store system hostname <hostname>
store system domainname <domain>
store system clock timezone <timezone in Continent/Country syntax>
store system ntp server (point servers, double Enter confirms the inputted values)
store system ntp state on
store unit type standalone
setup vm install
restart system
Important: mount vm tools before you start “setup vm command”, this command has to be executed from VM Workstation console.
NEW: Custom partitioning allows us to select non-default location of vmware-tools directories – “setup vm install”
The restart was not required before but now the documentation for G10 points this step directly.
It time to login to the portal: https://«your_collector_ip»:8443
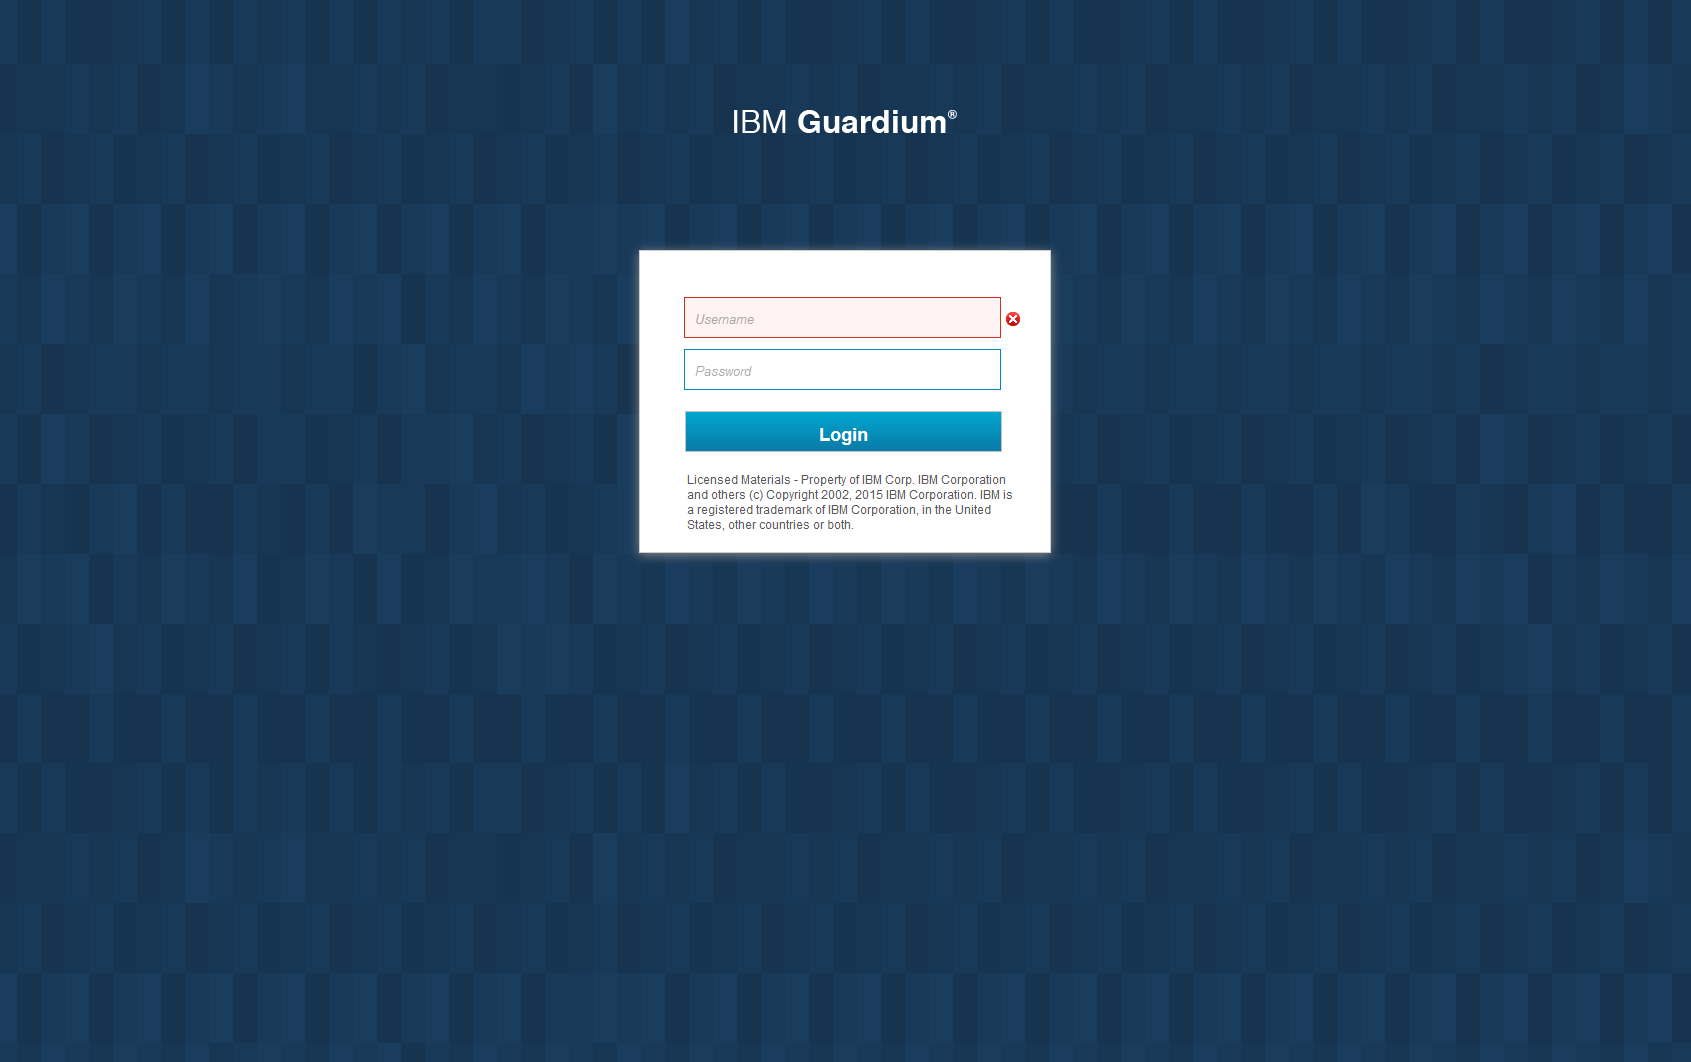
It is true – G10 contains completely new portal framework and design
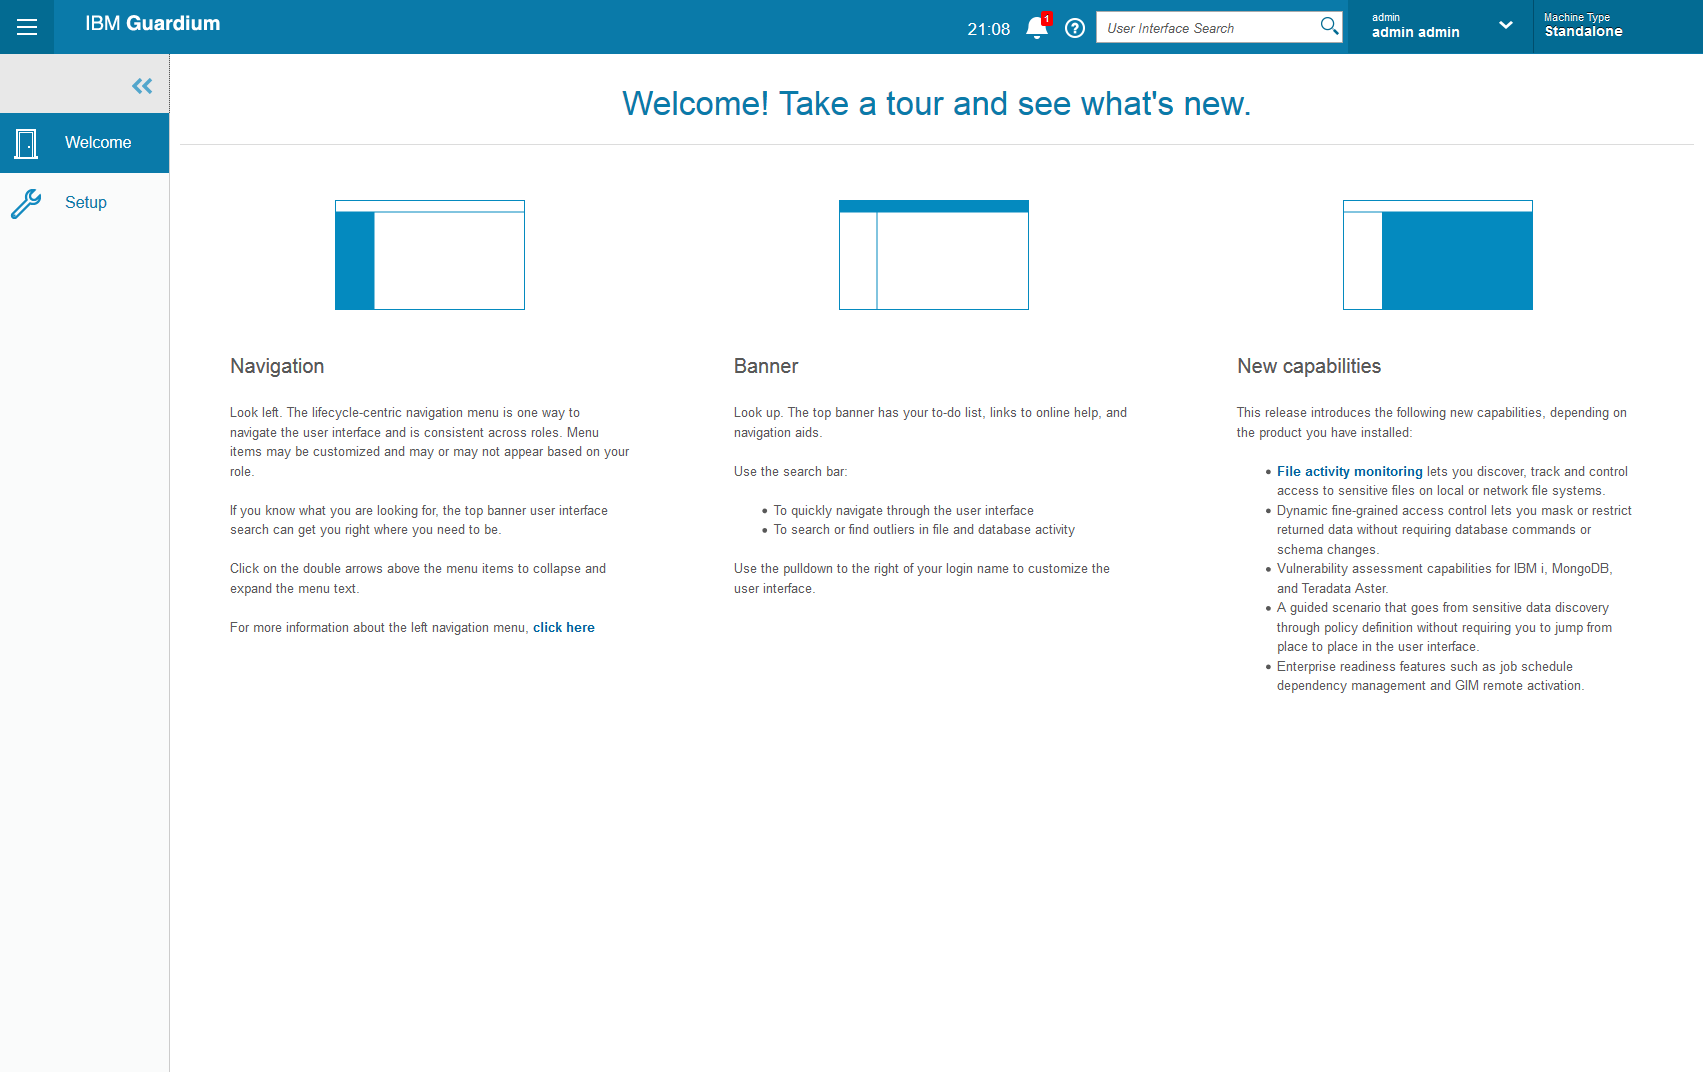
Completely new menu, bars, notification area. The standard menu after installation will contain only Welcome and Setup options – we have to install licenses.
The license management screen is available under Setup->Tools and Views->License
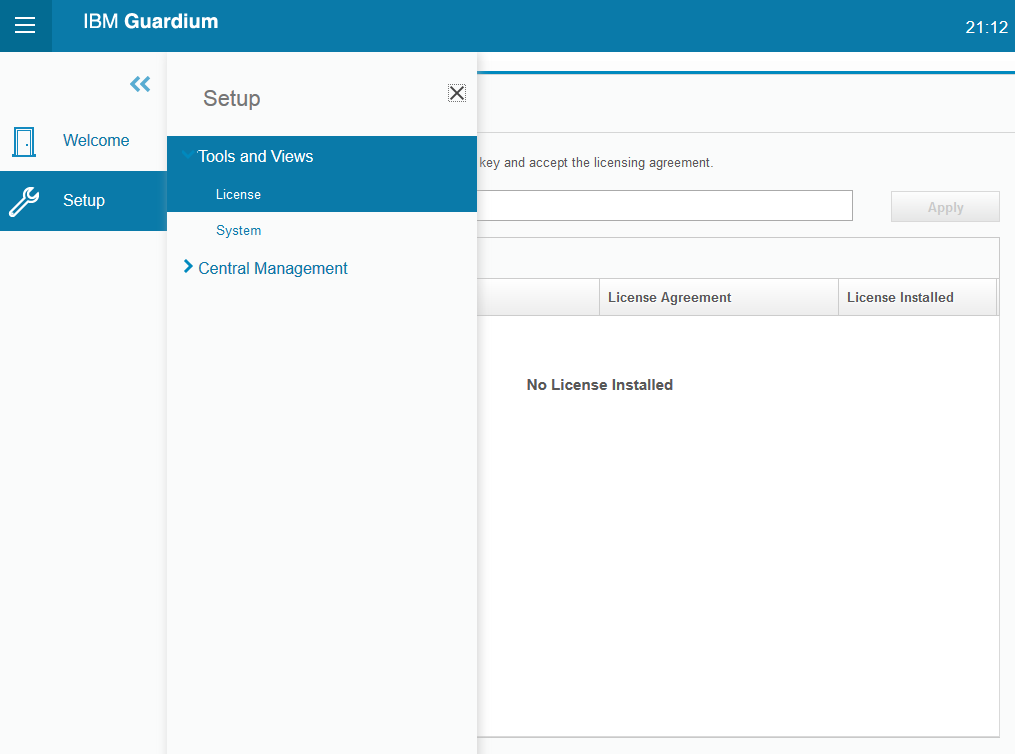
Important: First installed license has to be collector or aggregator base one, later you can add additional features-dependent license keys
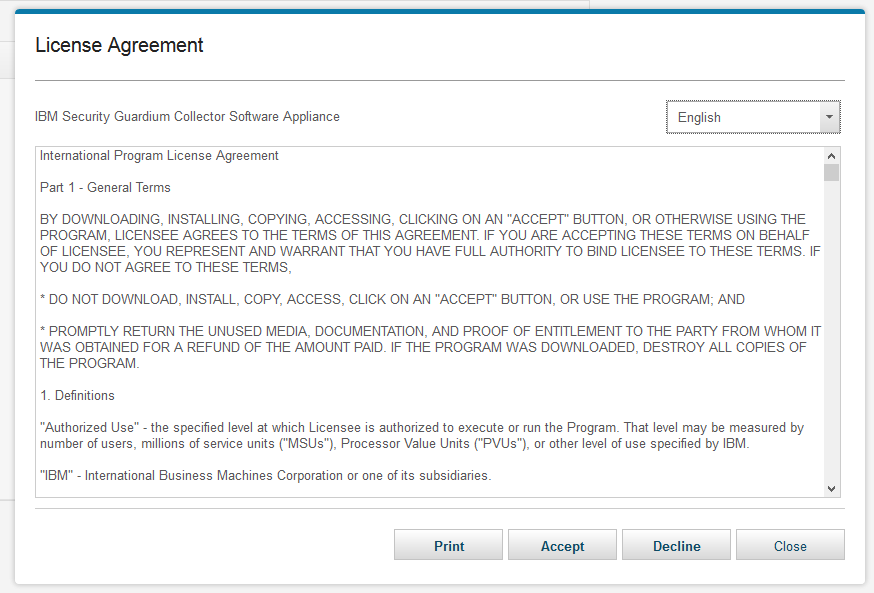
The license agreement is displayed during license key import
This is license screen of my collector with DAM, FAM and VA features enabled

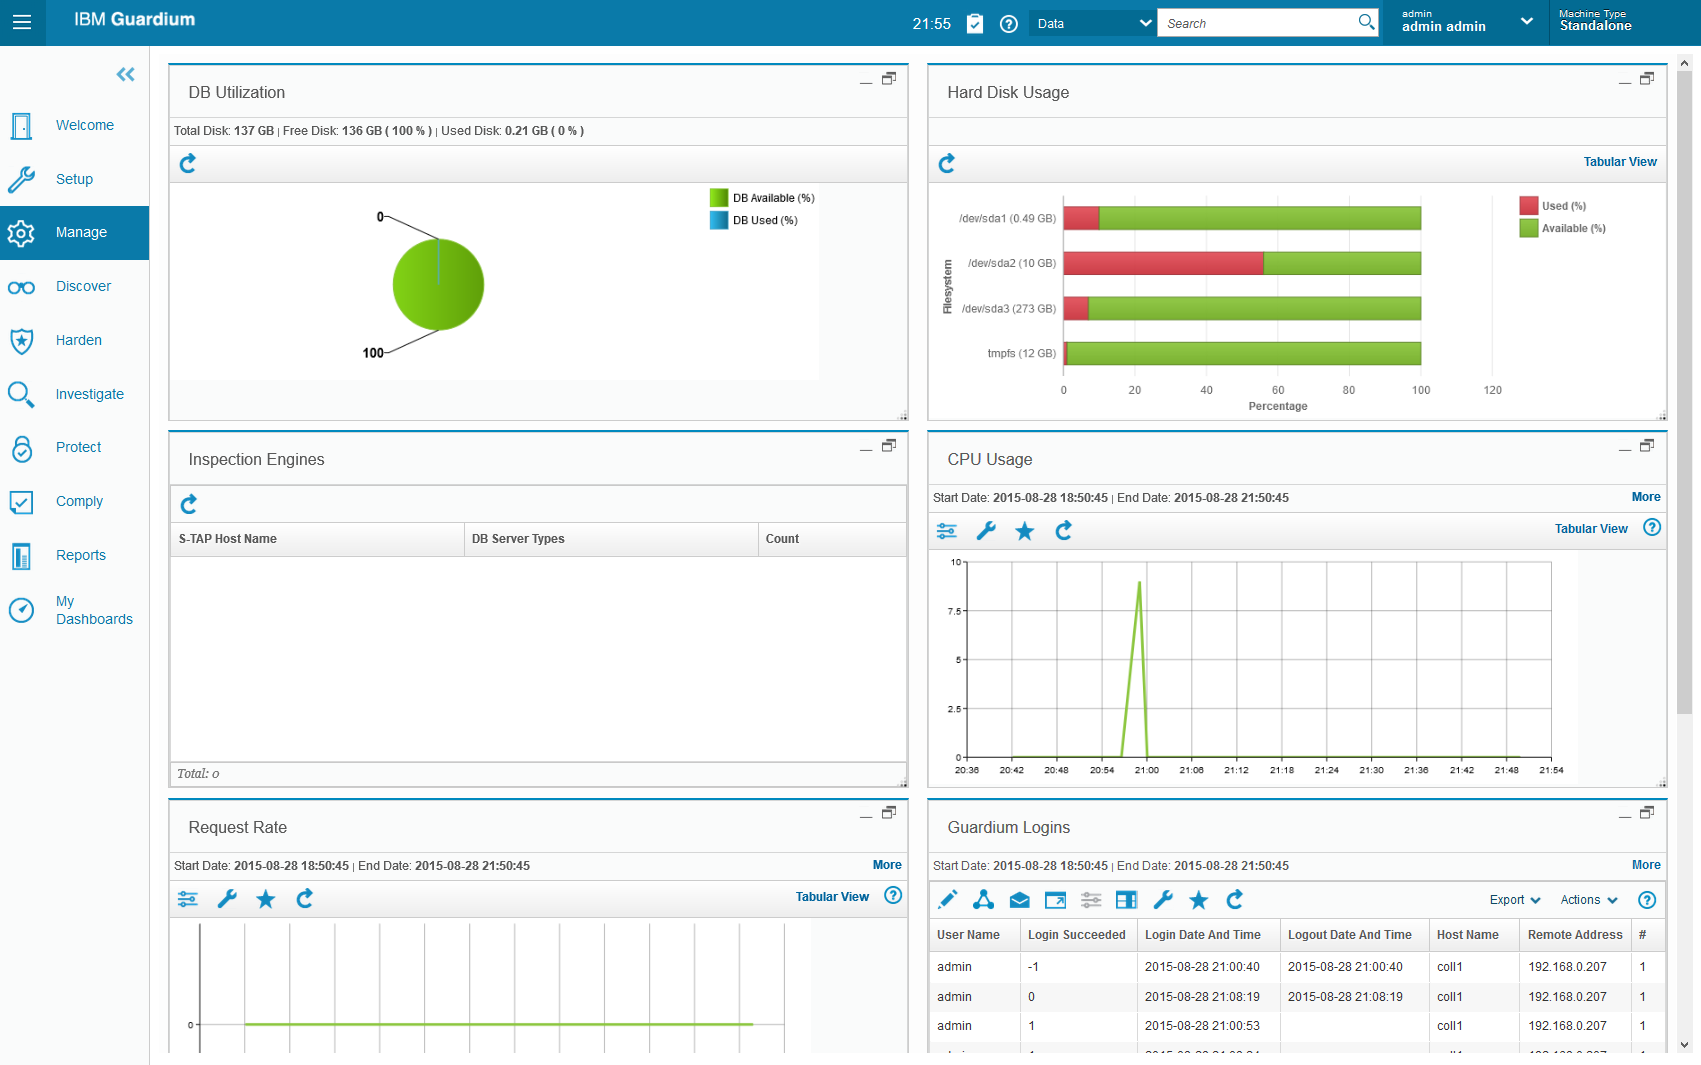
The example of completely new design of Guardium portal is system status dashboard (Manage->System View->System Monitor)
Now system is ready to install GIM’s
Summary:
Installation process is more clear and simpler, it does not require any additional attention, initial configuration uses this same set of command line instructions, clear process of license installation (in GUI, cli also supported).

Nice article.
Regards
Ananatha
4087719672
NAKRISHNAN@YMAIL.COM
NAKRISHNAN@GMAIL.COM
LikeLike
do you have a link to iso ?
LikeLike
Mario, please contact with your local IBM office. I cannot share the installation binaries.
LikeLike
hi can i have the exact part numbers for the iso to download from the partner world ?
LikeLike
Do you know of steps to install on an IBM PureApplication System?
LikeLike
Hi, Videos and Blog are really great and helpful. By seeing your Videos and Blog I tried to do a POC. I have installed Collector , GIM and STAP on Database server successfully but I am not able to see STAP engine on Collector console.
I have posted a question here.
https://www.ibm.com/developerworks/community/forums/html/topic?id=5a430ef8-ff31-4955-8a31-9b97c222f0af&ps=25
Please let me can I contact you, if yes let me know how I can contact you,
Appreciate your help..!!!
Thanks a lot
LikeLike